
Device Simulator
Test your account and device flows in various scenarios
Announcement: Introducing the New Device Simulator
Read our changelog announcement to know about recommended use cases for this simulator
Our device simulator is built specifically to help you quickly test the use case that you are building in various scenarios without relying on a real device.
Consider the simulator flow like any other OEM account (ex. Tesla, Easee, Mitsubishi etc) :
You sign up on the website -> Add device to your account -> Ready to fetch status / issue commands to the device
We have kept the simulator flow as close to real world to help developers test flows that their customers will go through.
1. Create account on Telematica Simulator
Start with creating an account on the Telematica Simulator. Simply sign up with your email and password, and confirm your email.
Sign up page for Telematica Simulator
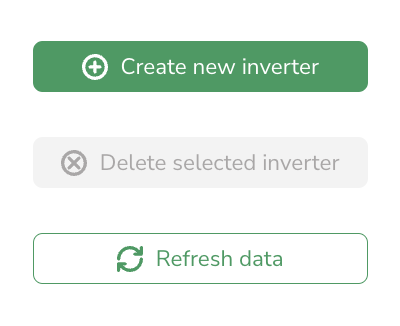
2. Create simulated devices
For the type of device you want to test, add a by clicking on Create new device button
3. Enable dev mode in Connect UI
Spin up a new Connect UI session, and append devMode=true in query params. The URL should look like this:
https://connect.telematica.so/connect?user=test&app=<appId>&deviceType=<deviceType>&devMode=true
4. Connect your simulated device
On the select-brand page, choose Telematica Simulator as OEM and enter the same email and password that you signed up with in Step 1. After logging in, you should be able to see the devices you created and connect them to you client.
5. Test APIs on simulated device
Now you can treat the simulated device as any other device in your backend. All the API endpoints should respond with data, and should also respond appropriately to commands (ex. calling Start charging will change isCharging to true).
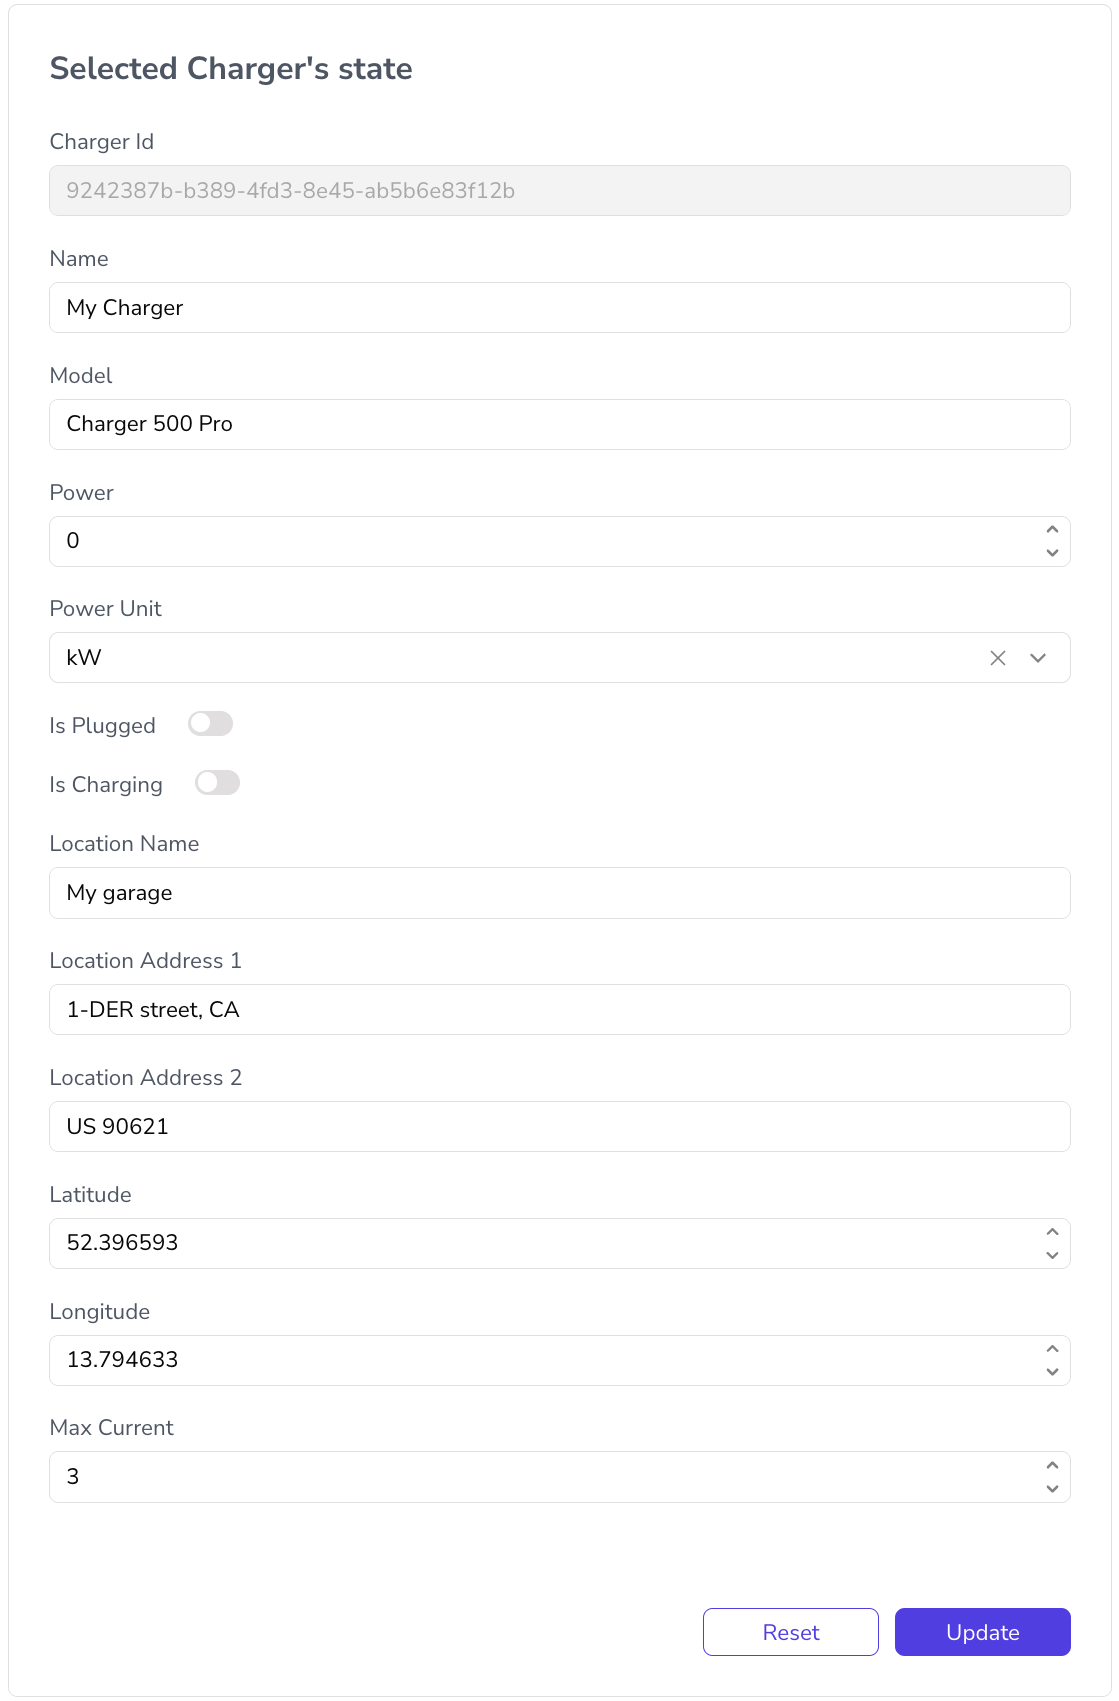
You can control what data the endpoints return for a device by going to simulator, selecting the device in device list and changing the state of the device and clicking on "Update" button at the bottom as shown.
Updated 9 months ago